
It’s great to have friends with a similar motorhome to yours. You can compare issues and discuss upgrades together. It’s even better if they have some serious skills when you have a project to do! My friend Phil in Southern CA is like that.
We both upgraded our batteries to lithium. As a result, we both had an empty battery bay. We also both also wanted to build out the battery bay and gain a new storage bay. The difference is that Phil could make it happen.
Wanting a strong yet light structure, he decided to build out his bay using aluminum. It really came out great, and he shared his design and lessons learned with me, and offered to help me with the project.
It turned out he would be near our home in the Bay Area while he took his RV to Sacramento for some work. We decided to meet in Lodi and get the project done.
I thought I’d share the experience for anyone else needing to build out a battery bay and gain new storage space.
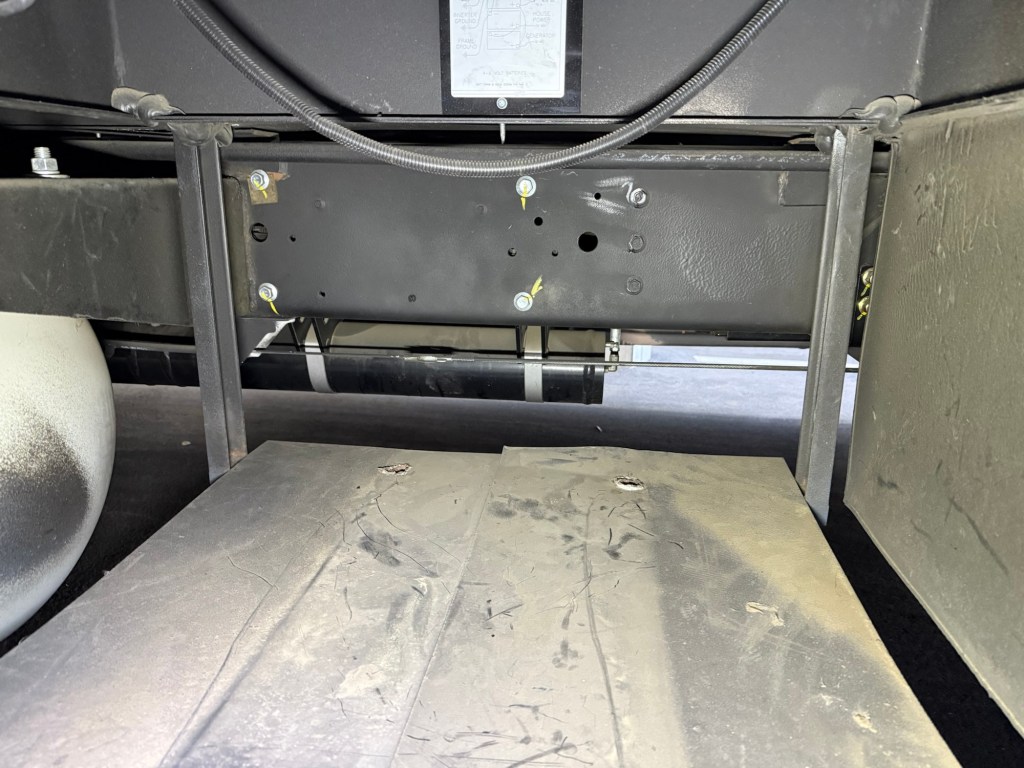
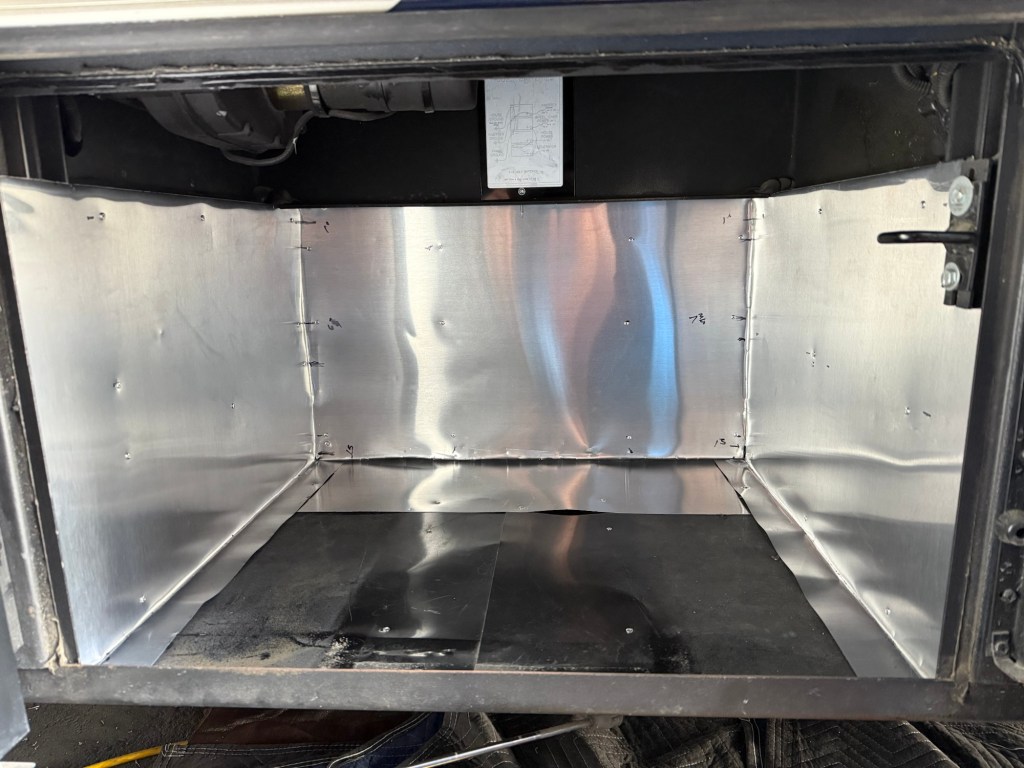
The results transformed the battery bay from this,
to this!

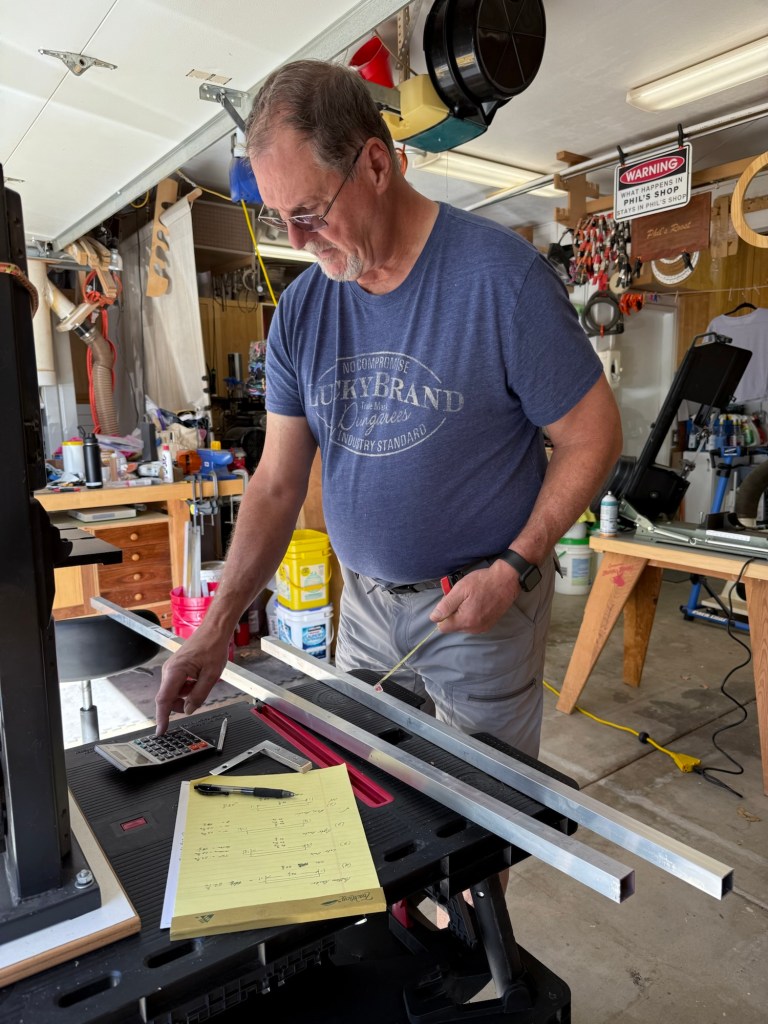
The first step was to carefully measure the compartment, as he would be cutting aluminum tubes in San Diego while I’d be drilling holes in the Bay Area. We used a shop drawing to complete this part.

After measuring twice and cutting once,
the aluminum was cut and holes drilled,

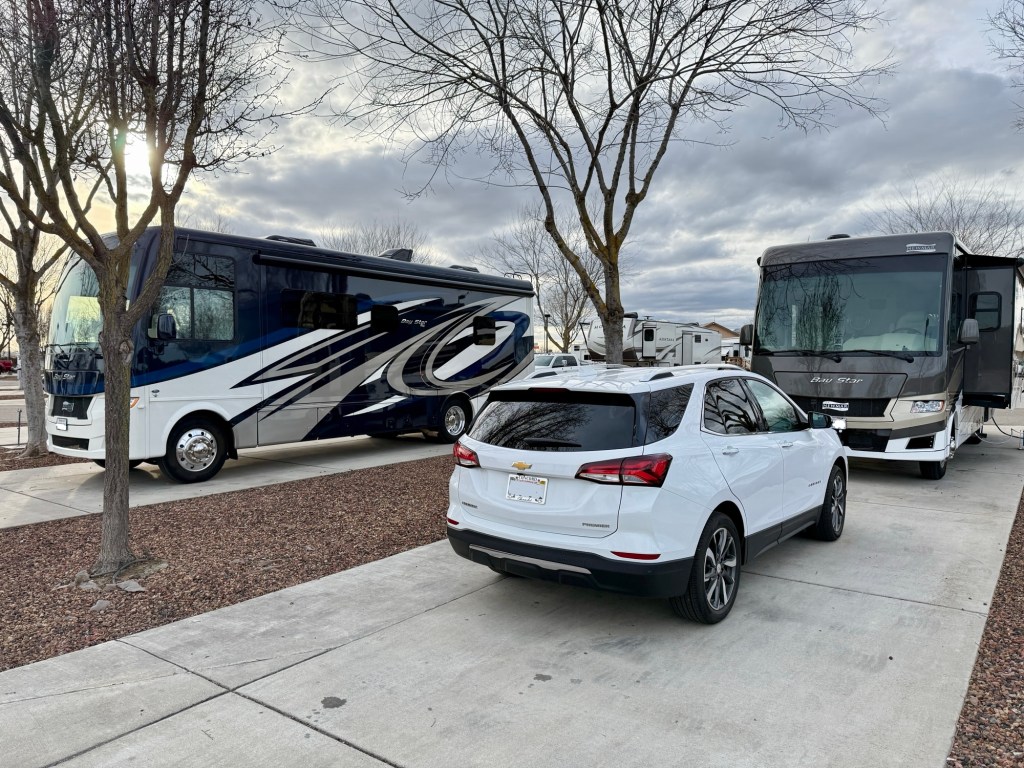
we met in Lodi to complete the rest of the project. Lodi Flag City was a great place to complete the project, as the sites were large and everything was nearby, in case we needed supplies. We completed the project with only one trip to Home Depot. I think that’s a record for me!
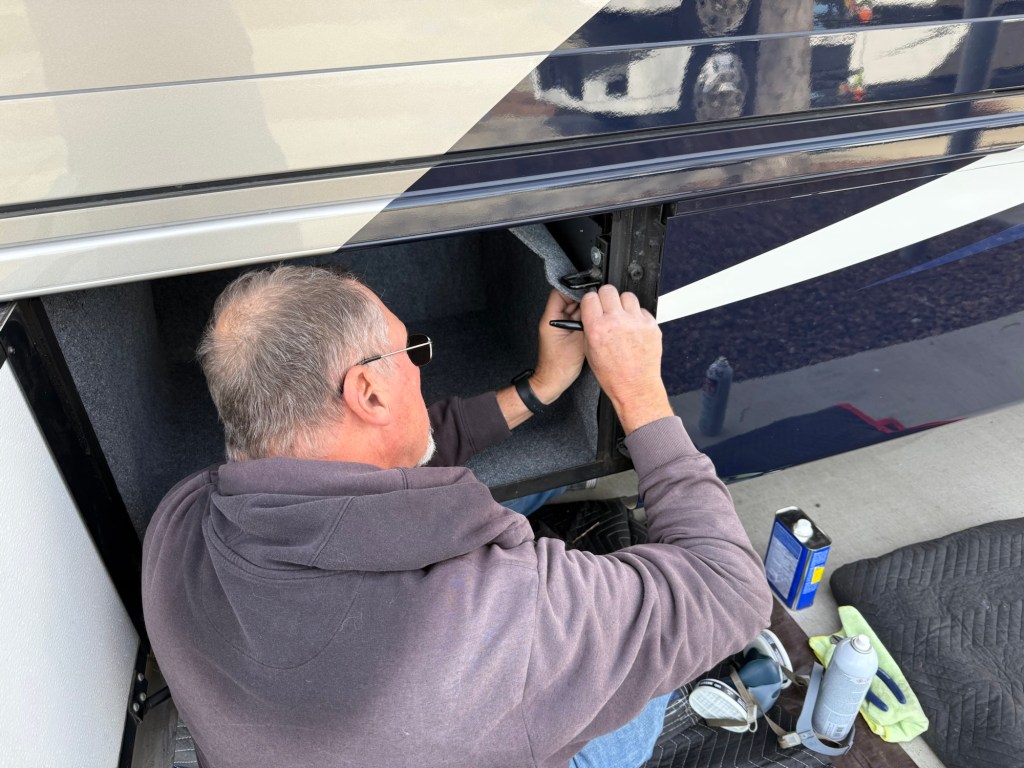
In Lodi, we began by attaching the aluminum tubes that had been cut to length to the existing bracing. This was done with a rivet gun, to ensure they would not loosen over time.
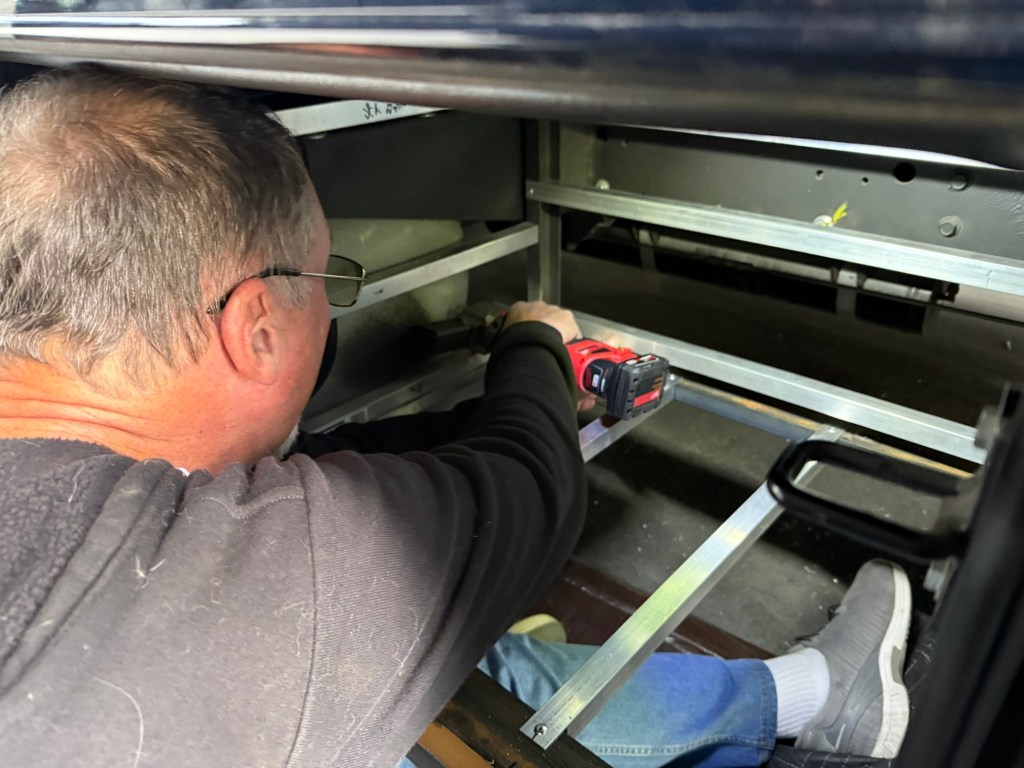
Phil really get into his work!
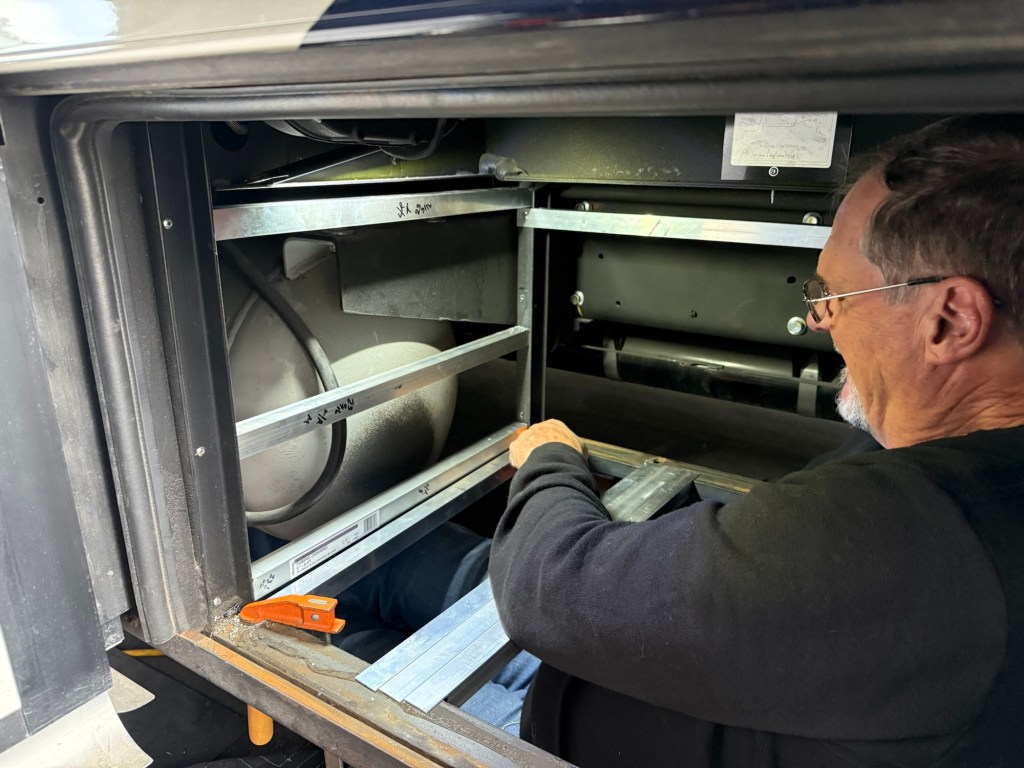
Here is how it looked with all aluminum tubes riveted in place. There are also 4 tubes
on the bottom, underneath the existing metal sheeting.

Next, aluminum sheeting was cut to size and bent into place. We needed 2 24”x48” sheets to complete the project.

Adhesive caulking was applied to the aluminum tubes, then the sheeting was riveted to them.
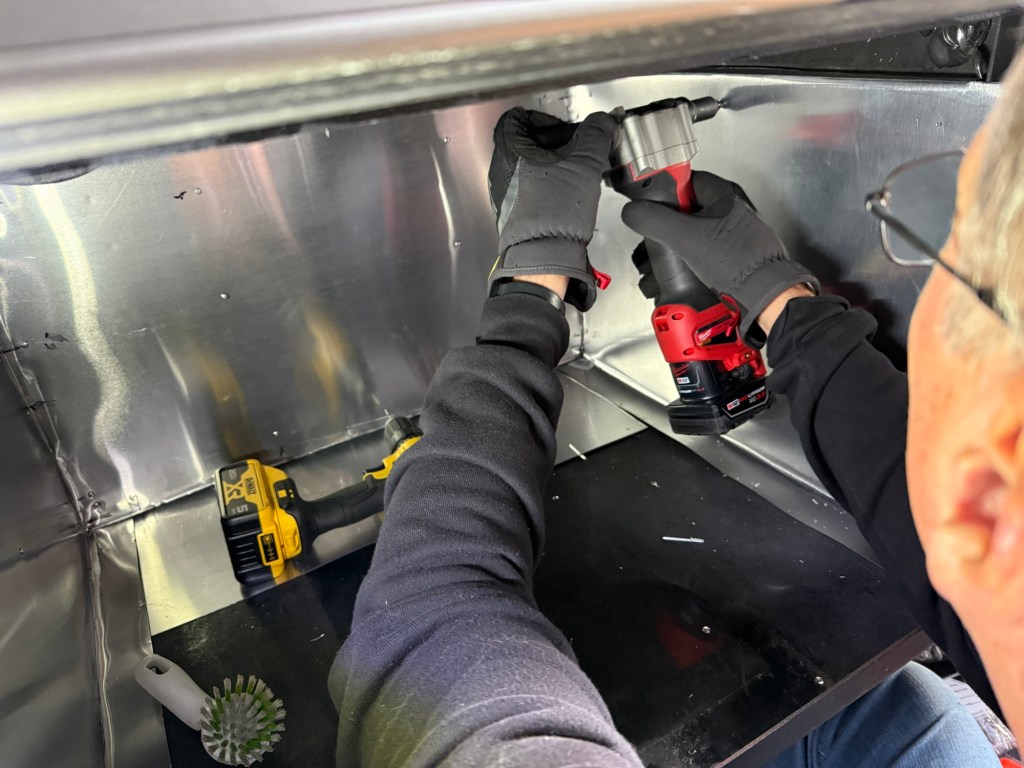
The existing bracing, the aluminum tubes, and the sheeting, all riveted together made for a very sturdy structure!
At this point, the exterior of the compartment and interior joints were sprayed liberally with Flex Seal to keep water and grime from entering the bay while on the road.
Next, the interior was carpeted using two strips. Once going from side to side, and the other from front to back, so the floor has 2 layers of carpeting. Everything was cut with precision and was glued down firmly.
The final step was to add a rubber seal around the exterior.
And with that, our project was complete! A job well done!
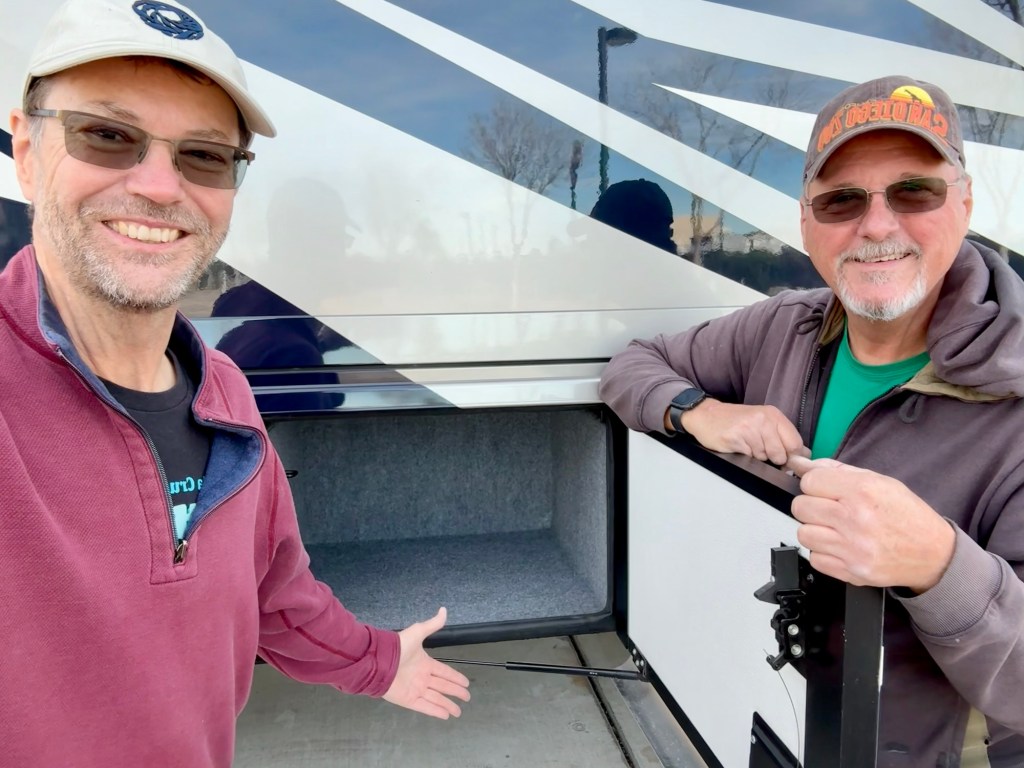
You may have noticed that Phil was doing most of the work. That’s because, well, he actually did most of the work! Because of that, we actually finished 2 days early!
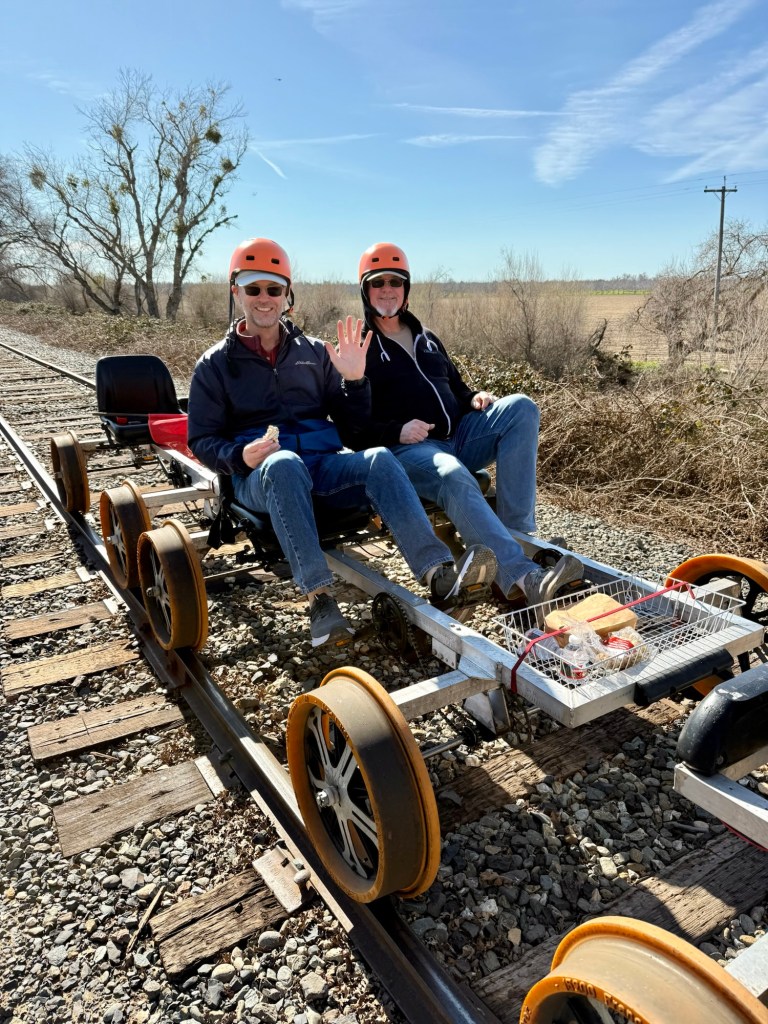
That left us a little time to play. 🙂
In Lodi, we visited the original A&W Root Beer. The root beer floats were frosty awesome , and they had a small “museum” which was interesting.

We also booked a rail bike ride along the Sacramento River, which was fun. I had always wanted to try that! The bikes were electric motor assisted, so anyone can enjoy the ride. The rail bikes could use better gearing, and our battery was faulty and had to be replaced twice, but it was still a fun 10 mile ride along the river.
While in Sacramento, we also went to the nearby California State Railroad Museum, which is a must see. It had been years since I have visited.

The project turned out great, and because we finished early, we got to enjoy the area a little.
Really appreciate a friend like Phil and hopefully will be able to return the favor some day.

Great Job, looks like it was made that way at the factory.
Thanks, Mel! Coming from you, that’s high praise!
That’s fine if your battery bay is behind a compartment door. Many of us have it under the steps. Thanks anyway….🙂
>
Yes, location, location, location! I had 4 in that bay and 2 under the hood, not including the chassis battery!
I imagine the process might be similar under the stairs, since the idea is to make the area water tight.I store tools under my stairs, which is really convenient.
Nice write up. It was a fun project and a good time. Surprisingly it has more storage than some of the other bays (deeper). Now it’s time to fill it up!!
Very True!